Served vegetables

Garlic Roasted Broccoli and Cauliflower

I’ll admit right up front: I don’t like vegetables.  Oh, I’ve always liked them if they were in something, like soups or casseroles, but a serving of plain vegetables on the plate by themselves?  Forget it.  However, vegetables are so healthy that I was determined to find a way to prepare them tastily.

When I first found a recipe for roasted vegetables, I thought, why not try it?  I wasn’t optimistic that I would like them, but I was willing to give it a try.  After I made my first batch of roasted broccoli, I was shocked!  I loved it!  I had never loved any vegetable before, but this recipe turned broccoli from a mushy green tree to be choked down into a crispy morsel to be savored.  And the recipe is so easy and quick to make, it’s almost unbelievable that the vegetables can taste this good!

The following is a very basic recipe for roasted broccoli and cauliflower.  You can roast other vegetables too, of course – I have also tried asparagus, beets, carrots, and potatoes, all with fantastic results.  However, broccoli and cauliflower are still my favorite roasted vegetables, and are thus the focus of this post.  This method of preparing vegetables is perfect for kids and those who don’t usually like vegetables, as the flavor changes so much that it is hardly recognizable as being the same plant.  Enjoy this simple, healthy, frugal, and most of all delicious recipe!

Garlic Roasted Broccoli and Cauliflower

You will need:

  • 2 cups broccoli florets
  • 2 cups cauliflower florets
  • 2 tbsp. olive oil
  • 2 tsp. salt
  • 1/2 tsp. pepper
  • 1 1/2 tsp. garlic powder
  • Large bowl
  • Baking sheet

(Click here for the printable PDF version of this recipe!)

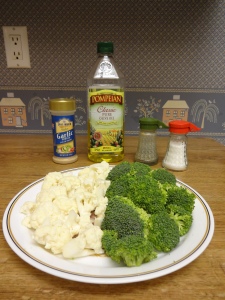
First of all, gather your ingredients and preheat the oven to 400°.  Move a rack in the oven to the topmost shelf in the oven.

Ingredients for roasted vegetables

Place the broccoli and cauliflower in a large bowl, then drizzle the olive oil, salt, pepper, and garlic powder over the veggies.  Toss well so that the vegetables get totally coated with the oil and spices.

Vegetables in bowl

Place the broccoli and cauliflower on the baking sheet in a single layer, separating the vegetables from each other as best you can.

Vegetables before roasting

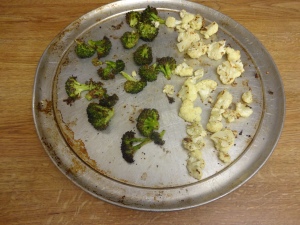
Place the baking sheet on the top rack of the oven, and bake for 8 minutes.  Take the pan out of the oven and flip the veggies to the other side, then place back in and cook for an additional 8 minutes or until the veggies are crispy and browned.

Vegetables after roasting

Serve right away!  The roasted veggies taste best right out of the oven, and will get soft and cold if they are out of the oven too long.

Served vegetables

Enjoy this delicious way to eat vegetables that everyone is guaranteed to like!  If you try this recipe, let me know in the comments below!

Key lime pie slice

Healthy Florida Key Lime Pie

Key limes are a small species of citrus fruit, grown (among other places) in the Florida Keys, from where they get their name.  Key limes are generally used to make key lime pie; this simultaneously tart and sweet dessert is a typically Floridian treat, and if you’ve never had it you’re definitely missing out!

I know, we’re in the middle of the autumn season, and key lime pie is usually considered a summer treat. However, when someone with a key lime tree and too many key limes for their own personal use recently gave me a bunch of key limes for free, I had to make a pie out of them!  Of course, I wanted to put a healthy spin on this treat that is typically made with fat-filled ingredients such as egg yolks and whipped cream.  This simple key lime pie recipe differs from many others out there in that both the crust and filling are healthy, making this dessert a guilt-free indulgence!

I realize that outside of Florida, both key limes and key lime juice may be hard to come by.  Thus, you can always use regular limes or regular lime juice in this recipe instead – the taste will be a bit different, as key limes have a distinctive tang, but it will be approximately the same and still delicious!  Savor this flavorful, frugal, easy, and definitely healthy dessert!

Healthy Florida Key Lime Pie

You will need:

  • 11 graham cracker sheets, or about 1¾ cups graham cracker crumbs
  • 2 tbsp. light olive oil or canola oil
  • 2 tbsp. fat free milk
  • About 16 small to medium key limes, or 2/3 cup key lime juice
  • 1 can (14 ounces) fat free sweetened condensed milk
  • 8 oz. fat free cream cheese
  • 8 oz. container Lite Cool Whip, or other brand lite whipped topping (you can use fat free if you want, but I’ve found that fat free whipped topping usually has an odd flavor…using the lite still gives you a good flavor, but with less fat)
  • 9.5 or 10 inch deep dish pie pan (a regular pie pan will be too small!)
  • Gallon sized baggie
  • Large mixing bowl
  • Electric mixer

(Click here for the printable PDF version of this recipe!)

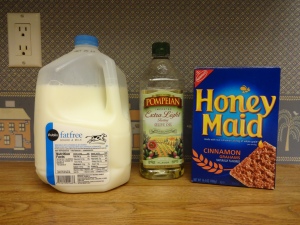
Gather together your ingredients.

Ingredients for pie crust Ingredients for filling

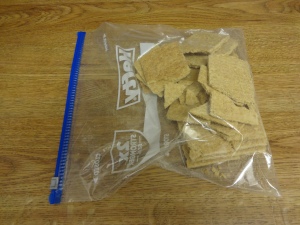
If using whole graham cracker sheets, place them in the gallon sized baggie and get out all the air before sealing.  Pound  the crackers on a hard surface with a mallet or other heavy object until the crackers are reduced to fine crumbs.

Crackers in baggie

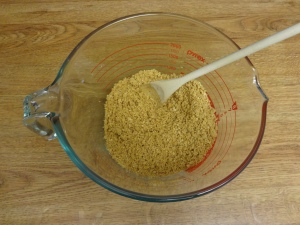
Place the graham cracker crumbs in a mixing bowl, and add the oil and milk.  Mix well so that all the crumbs get moist.

Graham cracker crumbs

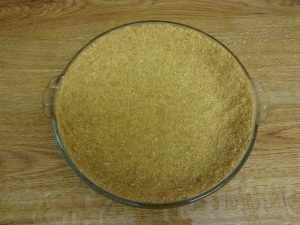
Dump the crumbs into the pie pan, and press very firmly against the bottom and sides, making sure the crumbs are evenly distributed.

Graham cracker crust

Now, on to the filling!  If you’re using whole key limes, you will need to juice them.  I used a small hand juicer that you place over a bowl to catch the juice; however, after later doing some research, I found this video which shows you how to extremely easily juice key limes using a garlic press!  If you have one of those, I highly recommend using that method, as it is a bit time consuming to juice the small key limes with a hand juicer!

Key lime juicer

After you have juiced your key limes, place the cream cheese in a large microwavable bowl and microwave for about 30 seconds to soften.

Cream cheese

Add the key lime juice and sweetened condensed milk to the cream cheese, and stir to mix.  Then beat the mixture with an electric mixer for about 2 minutes on high, or until there are no small lumps of cream cheese left and the mixture is smooth.

After electric mixing

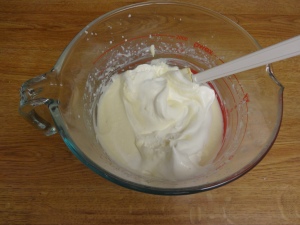
Fold in the container of whipped topping to the key lime mixture.  You will want to make sure the whipped topping is combined well, but don’t stir vigorously – you don’t want to lose all the fluffiness!

Mixing together

Pour the mixture into the graham cracker crust you prepared earlier, smoothing it out on the top.

Key lime pie

Cover with foil and place in the fridge for at least 6 hours, preferably overnight, before serving (else the filling will be runny). Alternatively, you can freeze the pie – it tastes delicious that way as well!  If making a frozen pie, let sit in the freezer for at least 4 hours before serving to make sure that it is frozen through.

Key lime pie with foil

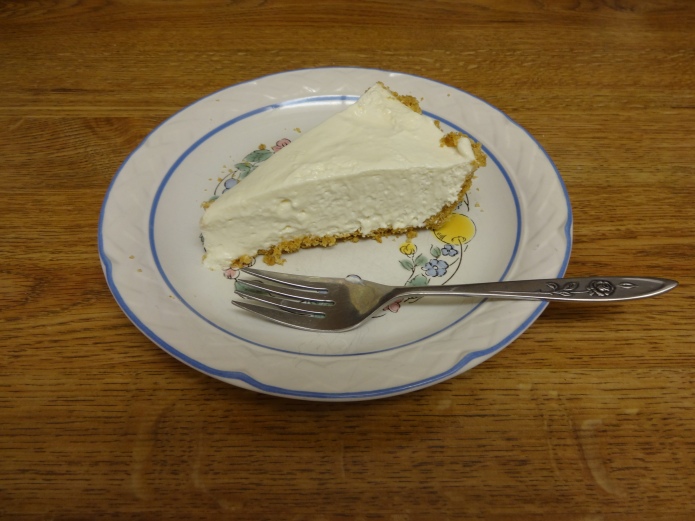
Once the pie has chilled adequately, slice into it and eat up!

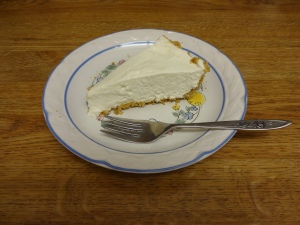
Key lime pie slice

Enjoy the delicate balance of sweet and tart as you savor this dessert, knowing that you aren’t ruining your healthy eating habits or hurting your wallet!

Pumpkin Chocolate Chip Cookies

Perfect Pumpkin Chocolate Chip Cookies

I love the autumn season.  Here in south Florida, where I live, the trees unfortunately do not change colors (at all), and the temperatures remain much the same as they did in summer until the very end of October into November, when they might fall a few degrees.  Because of this predicament, we Floridians have to slightly psych ourselves into thinking it’s fall by buying fake autumn leaf wreaths and lighting pumpkin scented candles around the house.

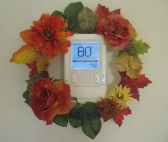
Fall wreath

Ironically, my fall wreath is hung around my air conditioning controller, which in the upper left reads the outside temperature as 90°!

Although as you can see, I do have a fall wreath up, I don’t light candles – instead, I bake pumpkin cookies!  They make your house smell amazing while they’re cooking, and definitely create an autumn atmosphere while being consumed.

I created this recipe because a), I was just in the mood for pumpkin cookies!, and b), I have a ton of boxed cookie mixes to use up.  A while back, I bought a bunch of them in a BOGO sale at the grocery store; although as prepared with the directions on the box they are quite unhealthy, I bought them as quick desserts to make for parties or church get-togethers where I knew I wouldn’t be the one eating them.  However, I began to wonder if I couldn’t just use the box mix and add my own ingredients to it to make it healthier for my own pleasure.  I experimented a bit, and voila! This recipe was born.  Enjoy!

Perfect Pumpkin Chocolate Chip Cookies

You will need:

  • 1 17.5-ounce package chocolate chip cookie mix
  • 1 cup canned plain pumpkin (not pumpkin pie mix)
  • 1 egg (or 2 egg whites, if you want to cut down on cholesterol)
  • 1/4 cup unsweetened applesauce
  • 1 tbsp. extra light olive oil or canola oil
  • 1 tsp. vanilla extract
  • 1/2 tsp. cinnamon
  • 1/4 tsp. nutmeg
  • 1/8 tsp. cloves

(Click here for a printable PDF version of this recipe!)

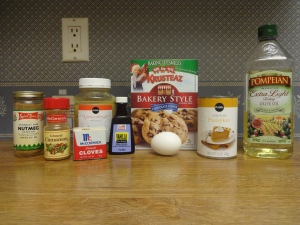
Preheat the oven to 350°, and gather your ingredients.

Ingredients for Pumpkkin Chocolate Chip Cookies

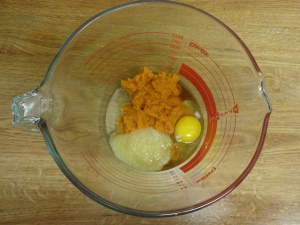
Place the pumpkin, egg, applesauce, oil, and vanilla extract in a mixing bowl…

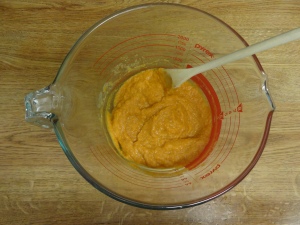
Liquid ingredients for pumpkin chocolate chip cookies

…and combine them together well.

Combined liquid ingredients for pumpkin chocolate chip cookies

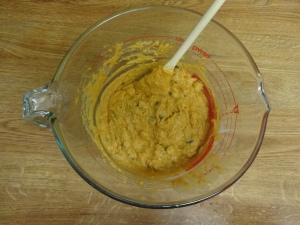
Add the cookie mix and the spices, then stir them into the pumpkin mixture.

Pumpkin chocolate chip cookie mix

Drop heaping tablespoonfuls on a lightly greased baking sheet, flattening them slightly with the back of a spoon.  In the oven the cookies will rise in height, but not spread out any more.

Unbaked pumpkin chocolate chip cookies

Bake 12-15 minutes, until the cookies are slightly browned on the top and bottom.

Baked pumpkin chocolate chip cookies

This recipe makes 32 medium cookies.  Enjoy the taste of fall as you consume these treats!  They are perfect served warm out of the oven, or cold from the refrigerator.  And, best of all, you’d never know that these rich cookies were “healthy!”